Four Simple Ways to Improve Your Landscape Photos in Photoshop
All true landscape photographers take pride in their work, and that pride usually comes from hours of Photoshop editing. While there are numerous guides, tricks, and hints you can follow to edit your landscape photos beautifully, most take some time and dedication to perfect. Before you delve into the unforeseen, and sometimes complicated, world of Photoshop editing, consider the following simple techniques that are the foundation of impressive landscape photographs.
1. Straighten Your Horizon
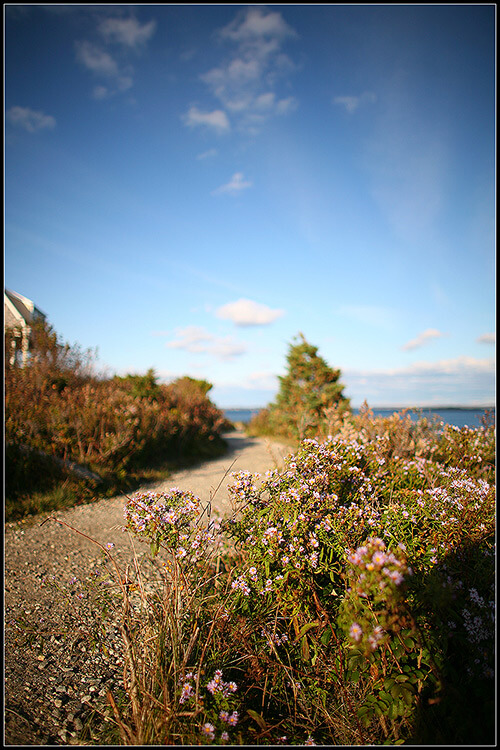
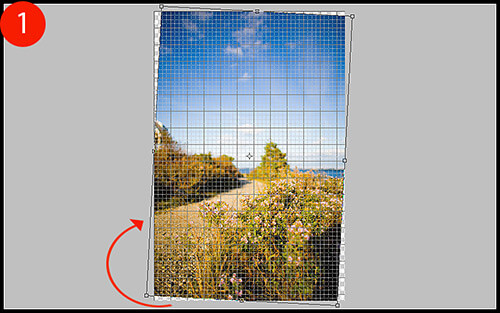
Presenting the most stunning photo of a sunset on the Venice canal won’t mean much if your horizon is crooked; it’s quite off-putting. To easily correct this in Photoshop, open your image and click View > Show > Grid to bring up some grid lines that you can use to guide your horizon line. With your transform tool (CTRL + T), rotate the image until your horizon is lined up correctly (Figure 1). To finish, crop out the uneven edges and press CTRL + H to put the grid away.
2. Make Your Horizon Off-Center
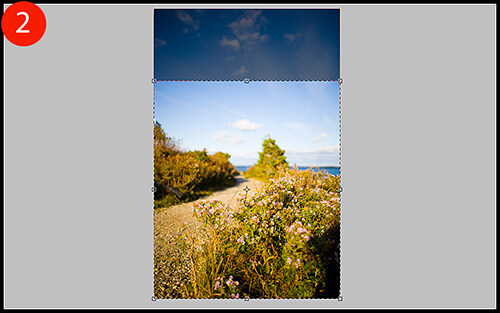
To be ascetically pleasing, a horizon that is not centered is much more intriguing to the eye and should be utilized whenever possible. In the example image, the horizon – although now straight – is too close to the center of the image. To rectify this, I am going to use my crop tool (keyboard shortcut: C) and eliminate at least half of the sky so that the balance of the photo is on the bottom, not the top (Figure 2).
3. Rule of Thirds
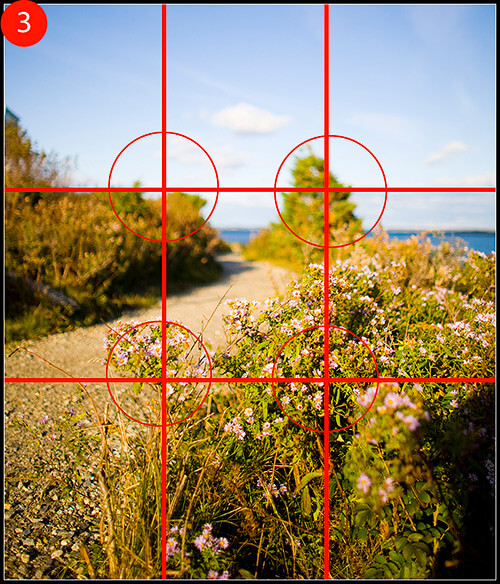
When looking at a photo, there are certain guidelines to follow composition-wise. One guide is called the “rule of thirds”, where you should visualize your photo as having two vertical and horizontal lines dividing the photo into thirds (imagine a tic-tac-toe board). The horizon (or other important line in your photo) should be along one of the horizontal lines, while other focal points should either lie along any of the lines or the point where they intersect (Figure 3). This creates an image that is more visually stimulating to the eye and allows it to wander across the whole image. If your photo has a focal point planted in the center of the frame, then the eyes will be drawn directly to the center and may not see a need to explore the other elements in your composition.
While ideally you should apply this rule out in the field rather than in post process, us photographers do not always have the time – or patience – to consider this, and rely on programs like Photoshop to line our images up correctly.
Looking at Figure 3, you can see that in the example image a major focal point (the tree in the top-right circle) is lined up perfectly with one of the intersection points. However, the horizon seems to be a bit low under the top horizontal line. To correct this, I’m going to crop out a bit more sky, and also crop out that distracting shadow in the bottom right-hand corner of the image.
4. Photo Filters
Film photographers – and some digital ones as well – use photo filters when out in the field to cast special coloring effects over their images. Warming filters will cast a slight orange/yellow hue to your image, while cooling filters will give your photo a blue hue. These are just a small sample of countless other filters you can use to add special effects to your photos. In Photoshop, however, you can easily add these effects with little effort.
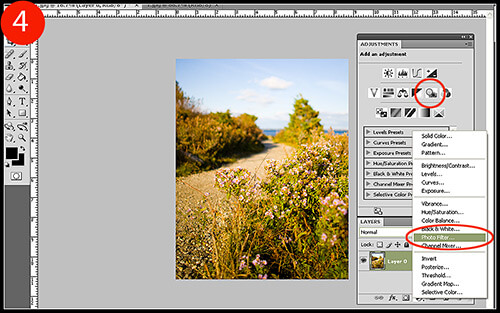
To add a Photo Filter adjustment layer to your image, click on the “new adjustment layer” icon on your layers palette toolbar, or simply click on the appropriate icon on your adjustment palette (Figure 4).
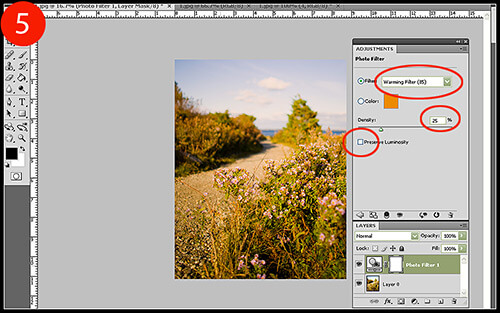
5. While the example image is coming together nicely, the blue sky could use a nice warming filter. I chose “Warming Filter (85)” as my filter choice and set the Density to 25 (Figure 5). I deselected the “preserve luminosity” box since the warming filter was starting to create some blown highlights.
When compared to our original image, the improvement is quite apparent.
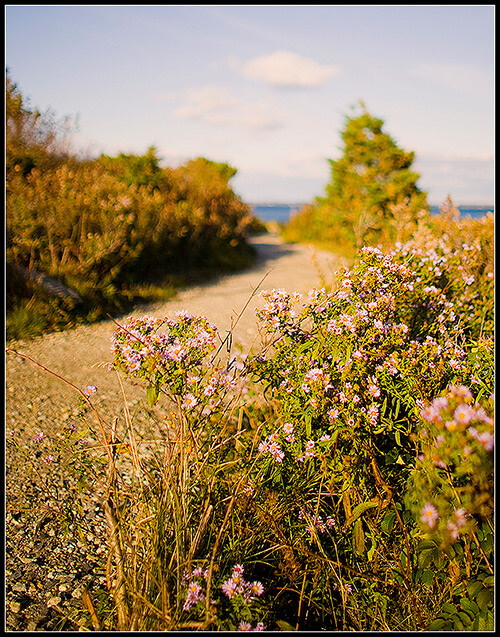
While this image isn’t even close to being at the end of my editing process, it has benefited greatly from a few simple visual enhancements that only took a total of ten minutes to complete. If you incorporate this tutorial into your workflow, it will provide your landscape images with a very solid foundation to begin applying your editing techniques to.
No comments:
Post a Comment