How to Turn Your Favorite Photo into a Miniature Masterpiece
After looking at all the amazing tilt-shift images from our previous post, I’m sure you are ready to create some of your own. It’s really very simple to do. It can be accomplished in just a few easy steps. I am using Photoshop to create this tutorial but I’m sure it can be adapted for other photo applications. Lets get started.
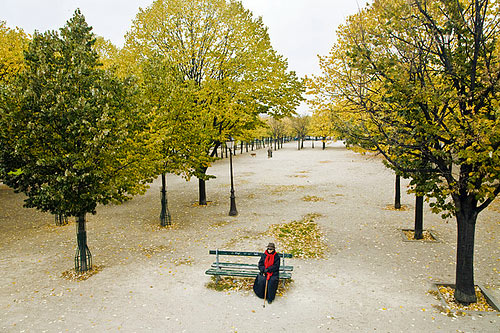
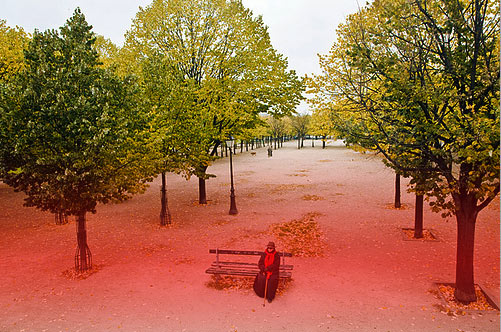
First you want to select a photo that will work for this technique. You want to use a photo that has the perspective of looking down on the subject matter. This will make the effect more believable.
Here is an image I will be working with from Dr. Antonio Comia via Flickr. Please check out other images from this talented photographer.
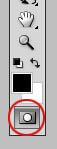
Ok, lets get started. First open up your image in Photoshop. Once open, select the Quick Mask Mode from your toolbar or hit Q.
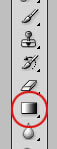
Next, with the Quick Mask Mode selected click on the Gradient Tool or hit G.
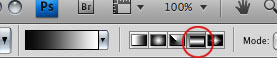
Select the Reflected Gradient Button and make sure your gradient runs from black to white as shown.
Draw a vertical line from the center of the area you want in focus to the point where you want the blur to start. It will probably take a few times to get it the way you want.
Next step is to go back into Standard Mask Mode by clicking the Quick Mask Mode again or hitting Q. Note: These are instructions for Photoshop CS4. CS3 has a separate button for Standard Mask Mode.
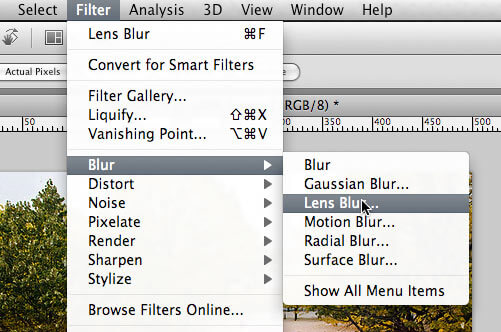
Once in Standard Mask Mode we are going to apply a Lens Blur to the image. Go to Filter>Blur>Lens Blur.
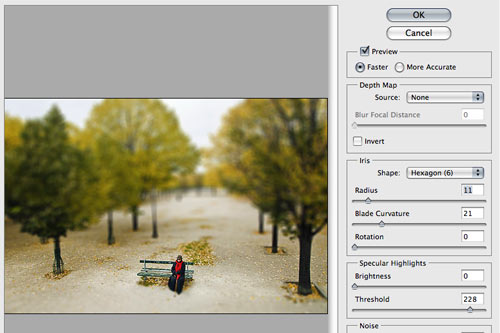
Now it’s time to experiment with the Lens Blur setting to get what you want. When you are satisfied hit OK.
To take it a step further and give your image more of a plastic look, play around with the saturation and contrast of the image. Here is my final image after some tweaking to the saturation and contrast.
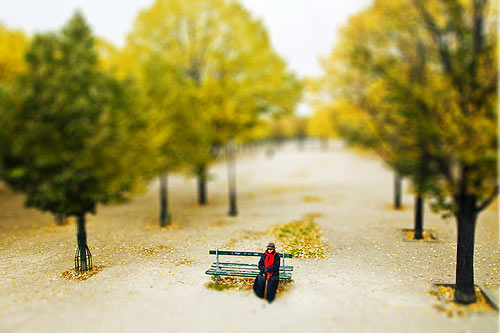
That was easy wasn’t it! Just a few steps for a very cool effect. Have fun making your own miniature scenes!
No comments:
Post a Comment