This post is a guest post by Lara Zankoul.
I’ve always been attracted to the tones of Lara’s pictures so I tried to talk her into sharing with us her retouching techniques and here goes her first tutorial.
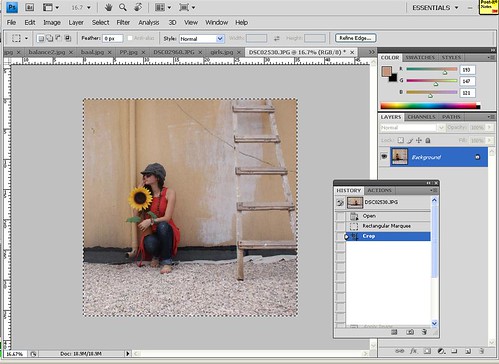
1. Crop to your liking
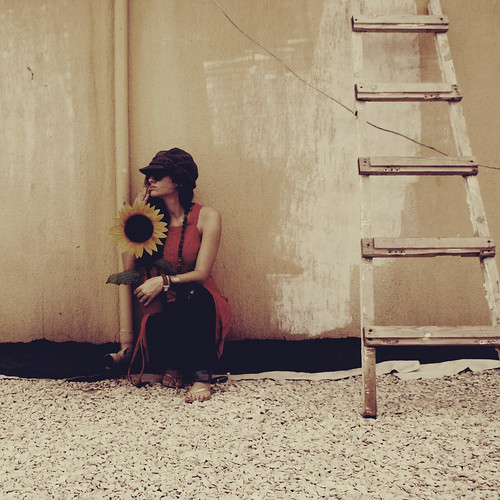
I started with a well exposed & bright pictured and did a a square crop
2. Changed the color balance
Using Image – Adjustment – Color Balance I used the below values
3. De-saturated the picture
The next thing I did was de-saturating the image using Image – Adjustment – Hue Saturation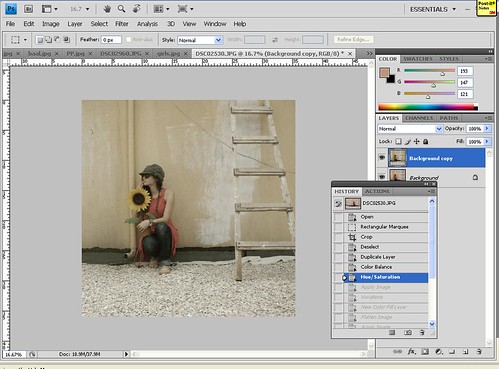
4. Apply : Image – Apply (Multiply 10% to 30% depending on image)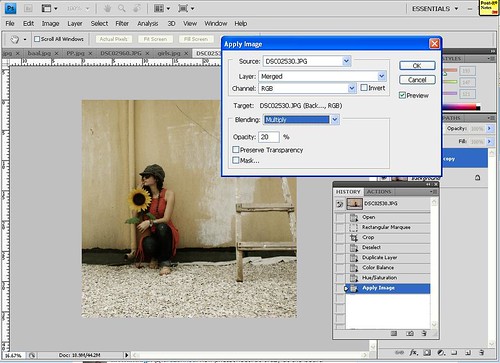
5. Variations (toward Red) – Image -> Variations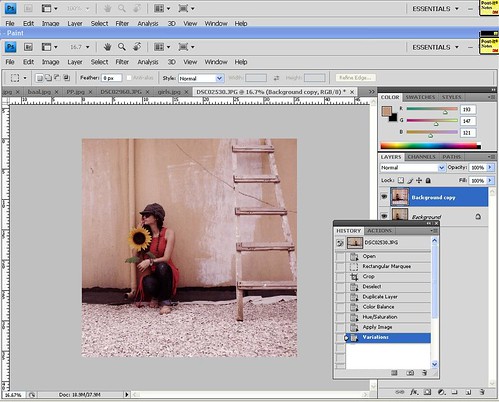
6. Add new layer and fill it with this color : #133e9f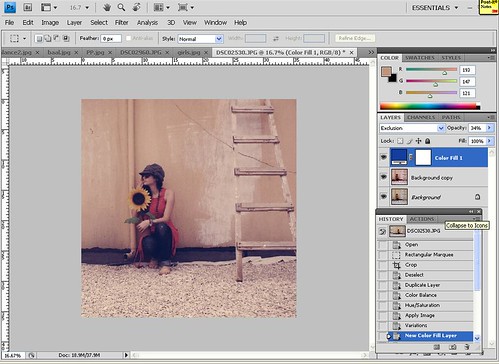
7. Then Apply the picture again (10% to 30% – Multiply)
8. Add new layer and fill it with this color : # 0b0871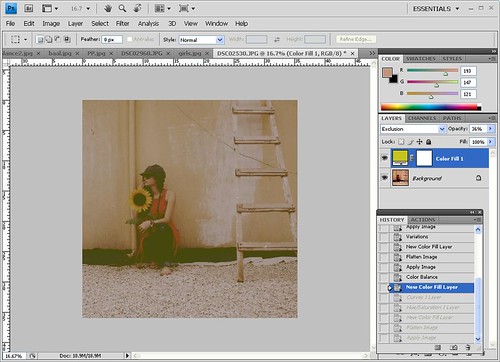
9. Play with curves and saturation to get a nice faded tone: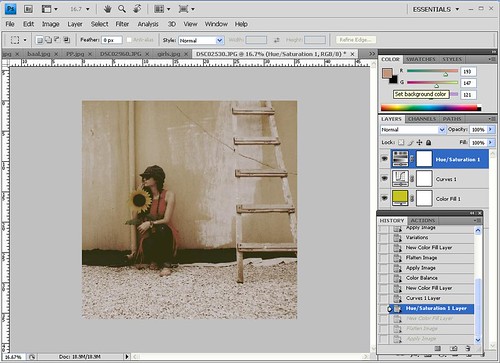
10. Apply image OR fix contrast to get the final picture: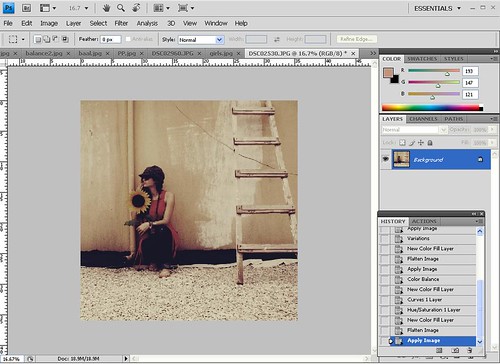
No comments:
Post a Comment